If you are anything like me, you’ve probably amassed quite the collection of cords for your various electronics over the years. What are they? What do they do? Let’s untangle this mess. Here’s a short guide.
HDMI: Audio and video signal, best for TV to PC connections.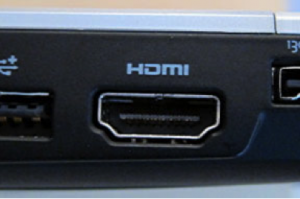
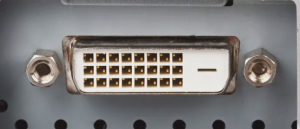
DVI: Video only, perfect for older systems or for 144Hz at 1080p.
DisplayPort (DP) and Mini DisplayPort: The best connector for an audio and video signal, and can transmit 144Hz up to 4K.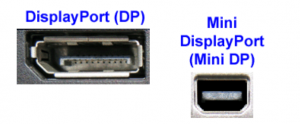
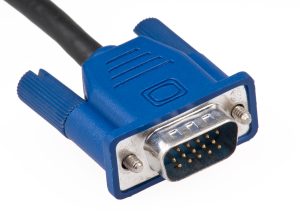
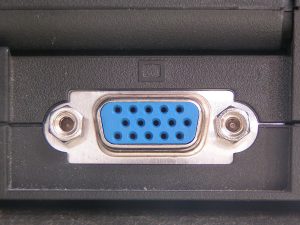
VGA: Old, legacy video connector. Only to be used when nothing else available.
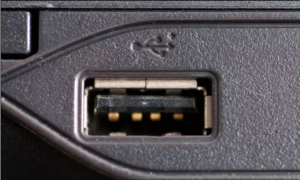
USB Type-A: The most standard connector for audio, video, data and power; but increasingly being replaced with USB Type-C.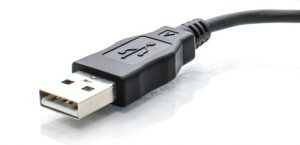
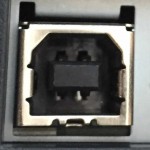
USB Type-B: An older, very rarely used connector. There were two different versions.
2.0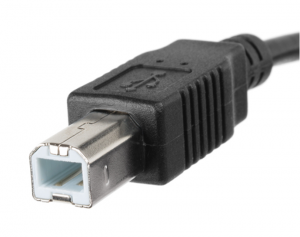
 3.0
3.0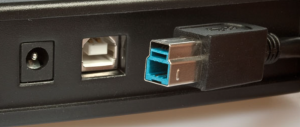
USB Type-C: Newest audio, video, data and power connector. The best connection for laptops and mobile devices.
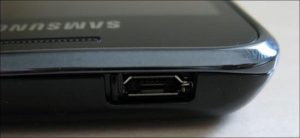
Micro USB: A miniaturized version of the USB interface developed for connecting older compact and mobile devices such as smartphones, Mp3 players, GPS devices, photo printers and digital cameras.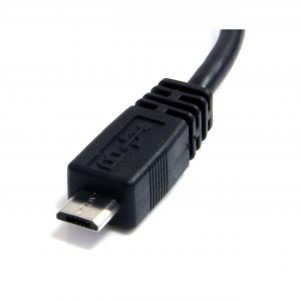
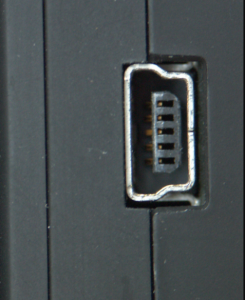
Mini USB: Another mostly outdated miniaturized version of the USB interface for compact and mobile devices.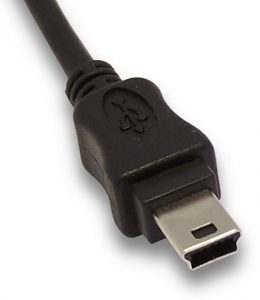
Lightning: Used to connect Apple mobile devices like iPhones, iPads, and iPods to host computers, external monitors, cameras, USB battery chargers, and other peripherals.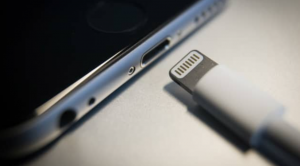
And here’s where it’s gets a little more tricky…
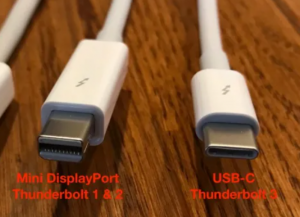
Thunderbolt: Thunderbolt 1 and 2 use the same connector as Mini DisplayPort, whereas Thunderbolt 3 and 4 reuse the USB-C connector from USB. The main difference is there’s a thunderbolt on the head of the connector and the port, and in many cases, they can do everything Mini DisplayPort and USB-C can, except much faster.

Bonus content! One last cord you should be familiar with.
Ethernet: This cable connects wired devices together to the local network for file sharing and/or Internet access.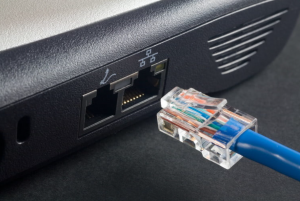
And there you have it! A quick rundown of the big ball of cords under your desk.
Please feel free to contact LTDS if we can be of any additional assistance or would like some help with cord management.